The “Hole” Story: Bore Gage Calibration:
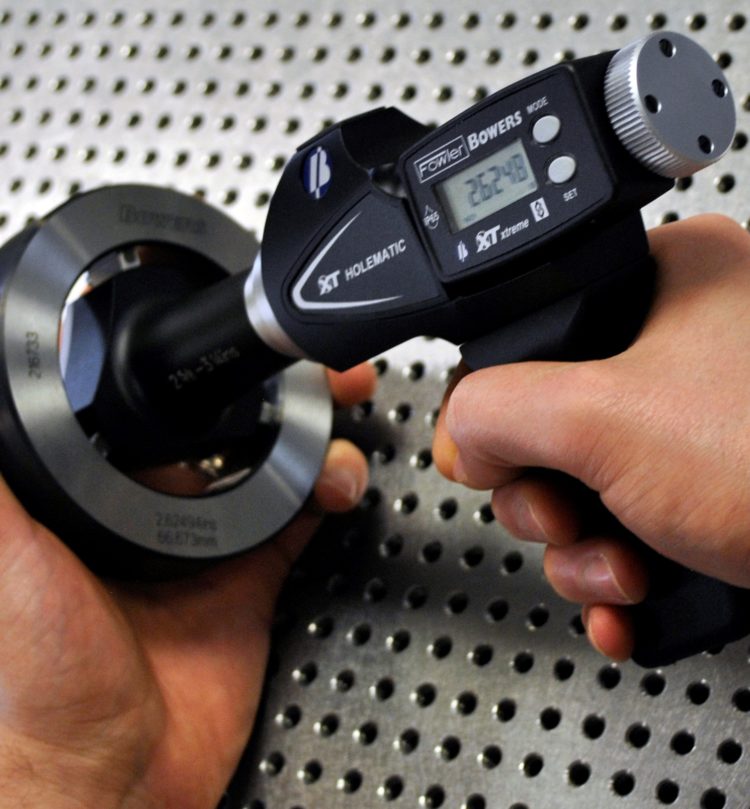
Bore gages are used to measure the inside diameter or bore size of a hole. They can come in a variety of sizes and types including dial, digital, electronic, and Vernier. While some adjust to provide direct measurement of the size of a bore, others are set to a specific size using a ring gage and are then used to verify the size of a bore. In either case, both your bore gages as well as your ring gages should be calibrated to ensure accurate and repeatable measurement.
Because bore gages have moving parts and/or internal mechanisms they should be calibrated or checked on regular intervals. Their calibration schedule should correlate with frequency of use, storage conditions, and age, as the components can wear overtime resulting in out of tolerance readings. Our technicians clean and inspect your bore gage for mechanical function before checking it at a minimum of three test points. The precision measurement group at Cross offers calibration on both metric and imperial units using NIST traceable standards. Take a look at our bore gage calibration page for more info.
If you are using ring gages to verify or set your bore gages, you must also calibrate your ring gages to ensure accurate measurement. Even subtle wear and tear can cause changes in precise measurements. Cross can perform NIST traceable measurement of all sizes of ring gages and ISO 17025 accredited calibration of ring gages up to 20 inches. Take a look at our ring gage calibration page for more info.


